First of all, you're gonna need to have 3 shots of the same thing but on 3 different exposure times 2 stop apart. What is 1 stop you ask? Turn ur DSLR mode dial to manual and then look into the viewfinder, and you will see a bar. The bar represents the exposure of the scene. To the left is overexposure and to the right is underexposure, the middle is the optimum exposure for the current scene you metered off from. For those that have a camera which supports bracketing. Use that.
One stop is the equivalent of exactly three flicks of the exposure dial. Make sure you have a tripod for this and use a remote or timer if you don't have one. So once you have the three shots it'll look something like this. Oh yeah! I almost forgot. Shoot in RAW!!!!
 Underexposed -2
 Optimum Exposure 0
 Overexposed +2


 You can play with the sliders and see which one suits you best.
 So here's what I got from photomatix. this is a pretty bland shot actually cuz I prefer adding the extra punch in photoshop. You can sometimes get pretty decent HDR photos straight from photomatix. As for me here's what I did to spice it up a bit. This one's pretty bad. I would suggest taking shots with an aperture of f/8 and above for sharpness. I took these on f/3.5 so I lost a lot of detail.
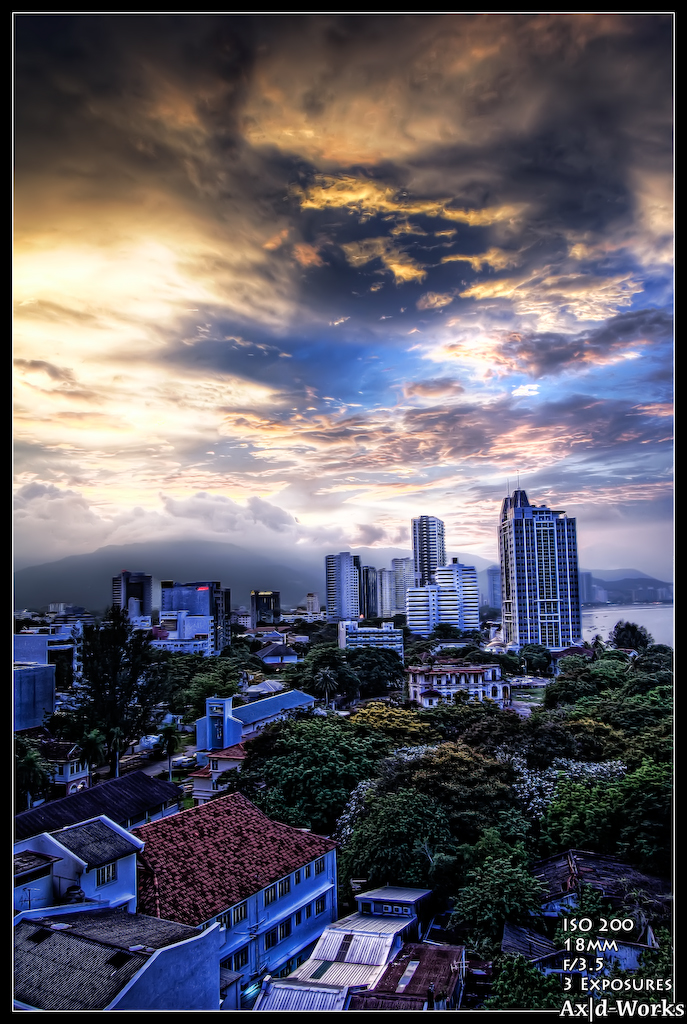 And there you go. The basic steps to get your first go at HDR photos. :D Happy experimenting!!
1 comment:
Cool!!!
ill try it out!!
Nice 1!!
creative edittin man!!
Post a Comment